Bathtub & Tile Reglazing
Save Money by Reglazing Instead of Replacing
Our Superior High-Quality Porcelain Glaze is Unmatched
We Exclusively Utilize Materials Manufactured in the USA
Our Services Include a 5-Year Written Warranty
Our High-Tech Chemical Process
At Glaze-Tec Bathtub Refinishing, our skilled technicians specialize in using Porcelain Glaze™, a cutting-edge chemical finish that provides superior durability compared to traditional paint. This innovative solution offers exceptional resistance to chemicals, abrasions, chips, and scratches. With a comprehensive guarantee covering bubbling, cracking, and peeling, choosing this refinishing option can be a smart and cost-effective investment for your bathtub.
Step-by-Step Process
Step 1: Preparation for Reglazing
Step 2: Acid Etch
Step 3: Warm Water Wash to Remove Acid Etch
Step 4: Dry Tub After Warm Water Wash
Step 5: Sand Etch Powder Off
Step 6: Primer Application
Step 7: Continuing with Our 5 Coat Process
Step 8: Applying Our Final Coat (Applied at 180°)
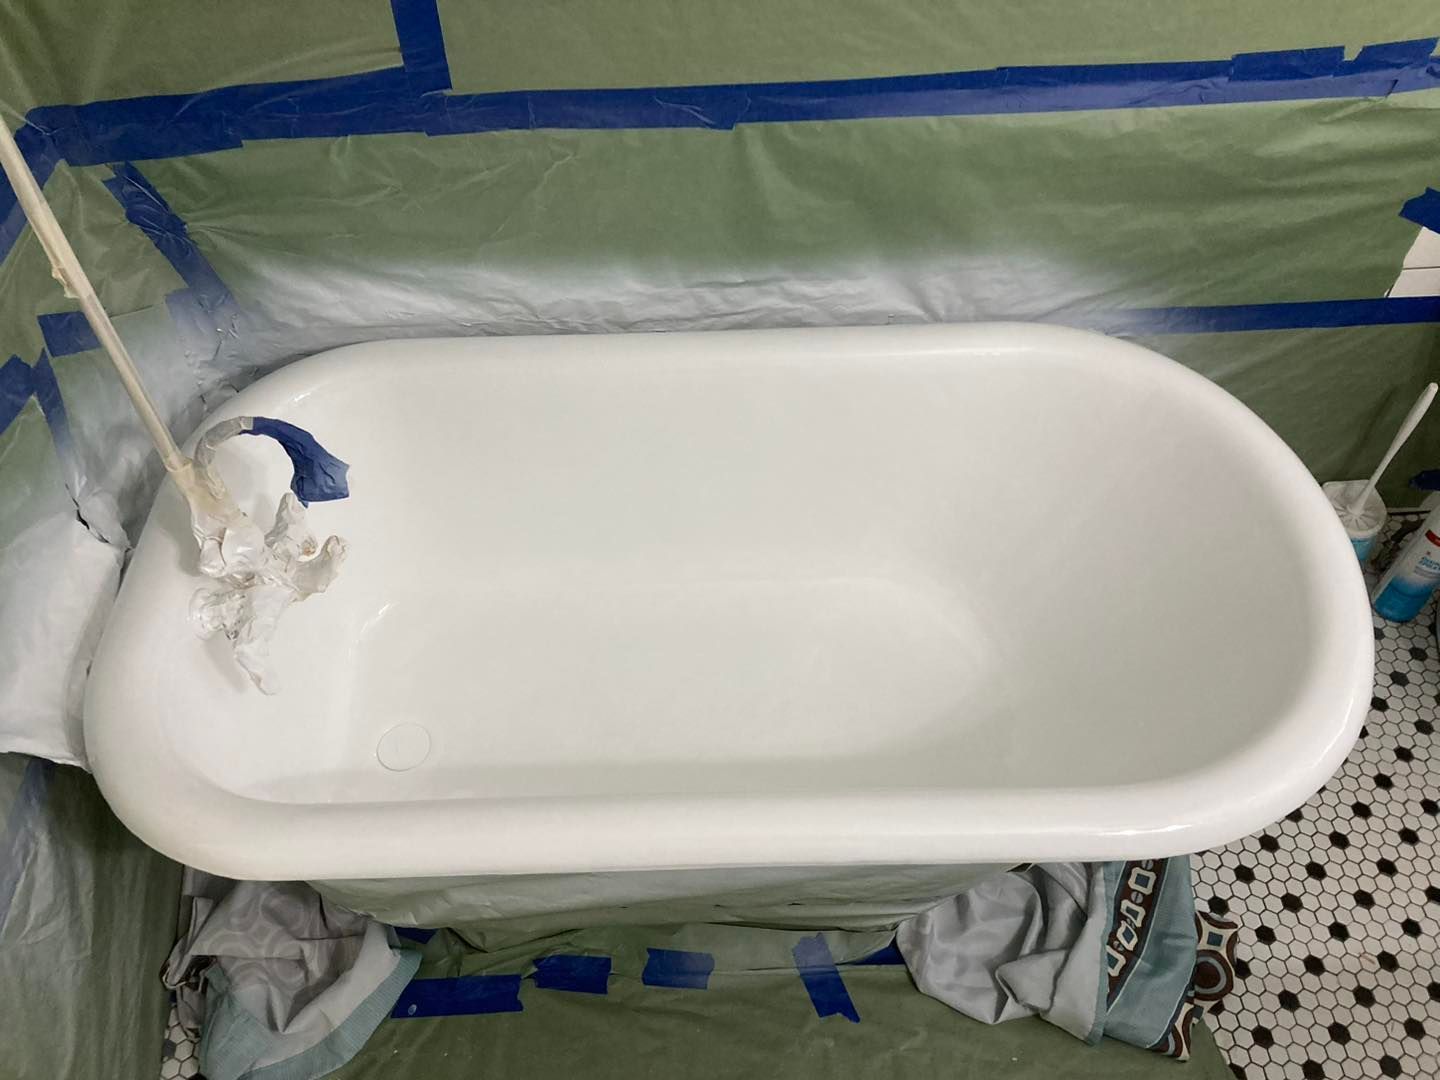
Step 9: All Done. Finished Product.
Type of Glaze
Glaze-Tec employs a premium porcelain glaze that is delicately applied to the surface using a high-temperature turbine unit.
Time Frame
On average, it takes around four to five hours to refinish a standard bathtub, and its use can be resumed after just 24 hours.
Our Guarantee
Trust the top company in the business with unmatched experience and quality standards. Our work comes with a five-year guarantee against bubbling, cracking, and peeling.
Before Glaze-Tec Arrives, Make Sure the Following Items Are in Order:
Decision-Maker Presence Required
It's crucial for the decision-maker to be present during the visit. There are important questions and options to discuss, and input is necessary as the job progresses. Sometimes, clients find that a thorough cleaning of the tub is sufficient.
Avoid Scheduling Conflicts
Please do not schedule the visit on the same day as other work, such as carpentry, Sheetrocking/Taping, or floor sanding.
Glaze-Tec is not responsible for dust landing on the tub's finish.
Humidity and Climate Control
If the weather is humid, an air conditioner is required. A window unit in an adjacent bedroom usually works well.
Prepping the Work Area
Ensure the walls above the tub are finished before the refinishing process begins. At the very least, have the backer board installed. Grouting is acceptable, but please refrain from caulking until the tub refinishing is complete.
Essential Requirements
- Electricity: Access to a power source is necessary.
- Running Water: Ensure there is running water available.
- Bathroom Access: Direct access to the bathroom is needed. (One client once suggested climbing, which is not feasible.)
- Temperature Control: If it's cold outside, ensure the bathroom is heated. The tub and glaze must be above a certain temperature to avoid issues.
Cleanliness of the Bathroom
Please clean the bathroom thoroughly, removing all dirt, dust, and hair. Since refinishing involves spraying, a clean environment is essential to avoid imperfections in the tub’s finish.
Tile Replacement
- Complete Tile Work First: If replacing the tile above the tub, please do this before the refinishing appointment. Protect the tub with a sheet of plywood during tile removal. Grout the tile to the tub but do not apply caulk until after refinishing.
Floor Installation
- Refinishing Before New Floors: If installing a new floor, especially marble, it's preferred to refinish the tub before the new floor is laid. You can remove the old floor and install a new subfloor in preparation. This helps avoid potential damage to new flooring during the refinishing process.
Shower Doors
- Remove Shower Doors: Please remove any shower doors before the appointment. There is no warranty for the track area if doors are left on. It's strongly recommended to remove the doors carefully to prevent chipping the tub ledge. Most clients switch to a curtain or install new doors after the tub is refinished.
Plumbing
- Ensure Functional Plumbing: All plumbing should be in good working order. Fix any dripping faucets and install necessary hardware before the refinishing appointment. The drain does not need to be removed, but please remove the overflow from the tub.
Fresh Paint Caution
- Potential Paint Issues: Fresh paint on the walls may be affected by masking tape. This is particularly common where sheetrock meets the front skirt of the tub. Please be aware of this potential issue.
Caulking Removal
- Remove All Caulking: Ensure all caulking on the tub surface is removed before the appointment. Grout can remain in place. If removing caulking is problematic, this service can be provided.
Tub Cleaning
- Clean the Tub Thoroughly: Clean the tub with an abrasive cleaner to eliminate any soap film. Excessively dirty tubs will incur additional cleaning charges.
Clear the Bathroom
- Remove Loose Articles: Clear the bathroom of all loose items, including shower curtains, window curtains, rugs, and counter items. Anything not stored in a cupboard or drawer should be removed. Wall and floor coverings will be handled as needed.
Vacuum the Bathroom
- Eliminate Dust and Hair: Vacuum the bathroom to remove dust and hair. This prevents debris from landing on the tub during the refinishing process.
Clear Access to the Tub
- Check Toilet and Vanity Placement: Ensure there is at least one foot of space in front of the tub for the spray gun. If unsure, please send a picture.
Window Access for Ventilation
- Ensure Window Functionality: If the bathroom has a window, make sure it opens and that storm windows and screens are functional. An exhaust fan will be placed in the window. If there is no bathroom window, please have another window available for the exhaust hose.
Post-Refinishing Care
- Remove Masking Paper and Caulk: Remove the masking paper within 24 hours and apply water-soluble (latex) caulk where the tile meets the tub. Do not use silicone caulk, as it is solvent-based and difficult to clean.
Reinstall Hardware
- Trip Lever and Drain Screen: Reinstall the trip lever (overflow plate) by dropping the weighted end into the overflow pipe, aligning the screw hole, and reinstalling the screws. If a drain screen was removed, place it over the drain, align the hole, and install the screw.
Shade of White
- Color Matching: Typically, Kohler White and American Standard White are available. Please confirm the shade before spraying. If not present, the choice will be made, usually aiming to match the toilet. Note that there are thousands of shades of white, and exact matches cannot be guaranteed.
Tile Aesthetics
- Tile Appearance: Be aware that a newly refinished tub may make old tiles look less appealing. This change is not the responsibility of Glaze-Tec.


